reporter INT logo

How to Make Homemade Sun-Dried Tomatoes in the Oven

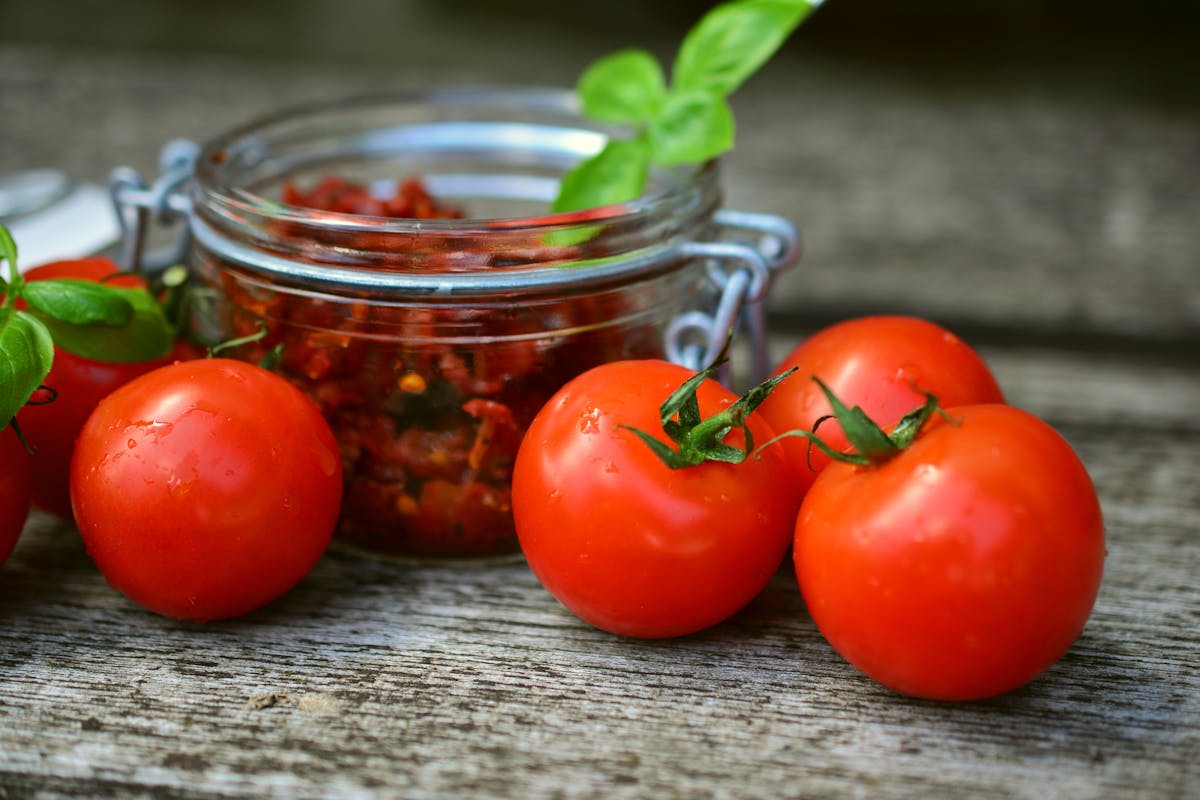
Homemade sun-dried tomatoes are easy to make in the oven and will serve as a perfect addition to your meals.

Sun-dried tomatoes give dishes a special aroma and taste, and you can easily prepare them yourself. You don’t need any special equipment, just an oven and a little patience. It’s best to use meaty varieties of tomatoes that don’t have too much juice.

How to Make Sun-Dried Tomatoes in the Oven

Ingredients:
1.5 kg meaty tomatoes
2 teaspoons salt
1 teaspoon oregano or thyme
Olive oil – as needed

Preparation:
Wash the tomatoes and dry them with a cloth. Cut them into halves or quarters (depending on their size). Arrange them on a baking sheet lined with parchment paper, skin side down.

Sprinkle the tomatoes with salt and dried herbs. If desired, add a little olive oil, but it’s not necessary during the drying process.

Place the tray in an oven preheated to 90–100°C (194–212°F). Dry for 3–4 hours, checking occasionally. The tomatoes should be dry but still retain some softness.

Once cooled, pack the tomatoes into a jar and cover with olive oil until submerged. Store in the refrigerator for several weeks.

Tip:
For a more intense flavor, add a clove of garlic, a sprig of rosemary, or a bay leaf to the jar.

Cream of Mushroom Soup: Recipe for an Aromatic Soup

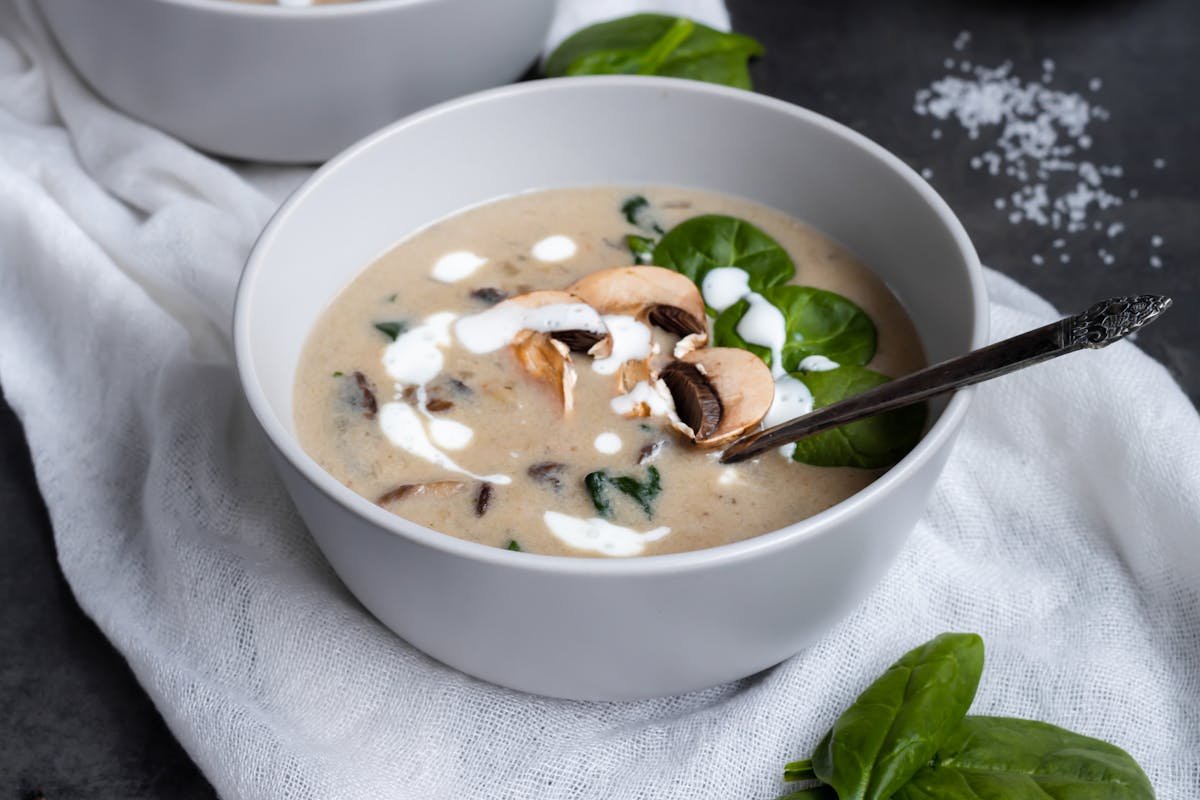
Simple to prepare yet rich in flavor – cream soup made with mushrooms is the perfect warm break and enjoyment in every bite. You can use whatever mushrooms you have, but we recommend the classic choice – champignons! The recipe is brought to you by Kuvar.

Recipe for Cream of Mushroom Soup

Ingredients:

500 g mushrooms
1 onion
2 carrots
1 red bell pepper
1 liter vegetable broth
200 ml heavy cream (30%)
2 tbsp butter
1 tbsp oil
salt and pepper to taste
parsley, for serving

Preparation:

Slice the mushrooms and dice the onion, carrots, and pepper.

Heat the butter and oil in a pot, sauté the onion, then add the mushrooms and cook until golden brown.

Add the carrots and pepper and cook for another 2 minutes. Pour in the broth and simmer over medium heat for 30 minutes.

Add the cream, season with salt and pepper, and simmer for another 5 minutes.

HOMEMADE HUMMUS FROM CHICKPEAS: Recipe for a Healthy Spread

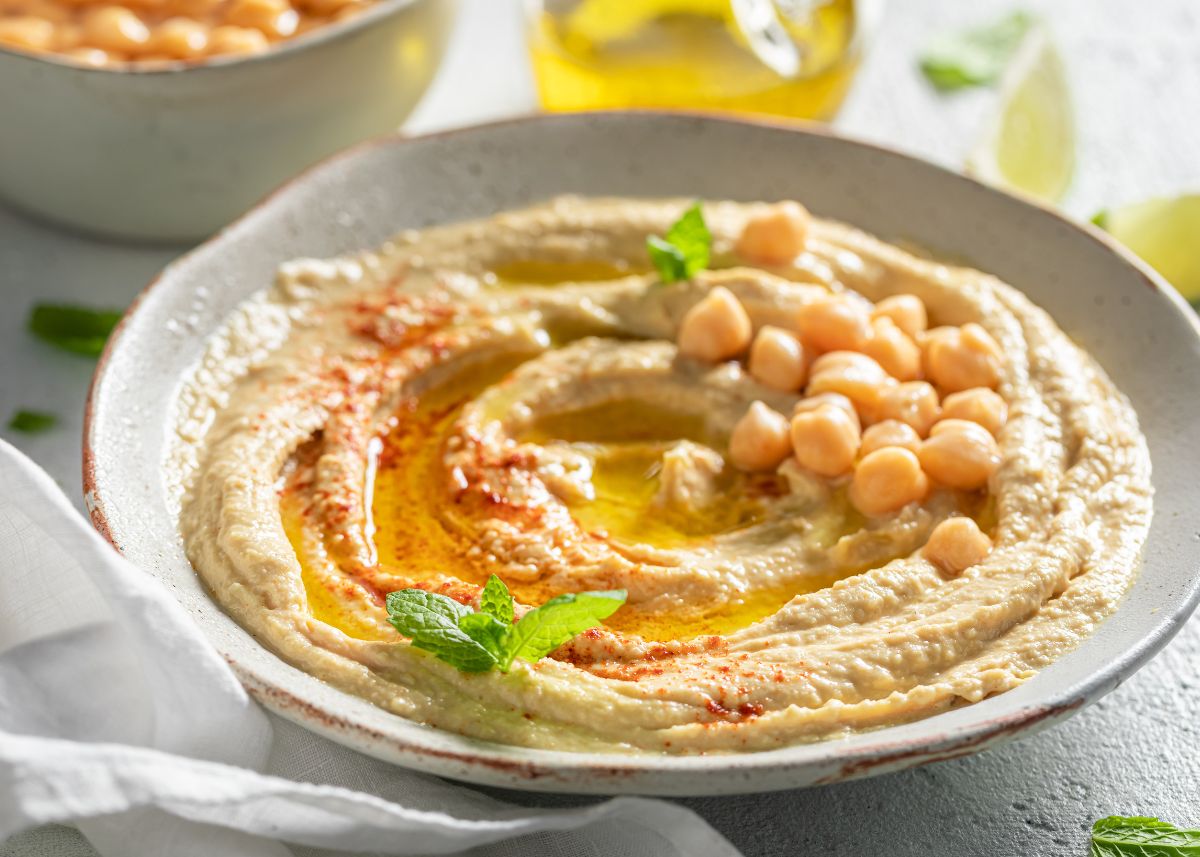
Hummus is such a simple spread, yet so rich in flavor. A classic Arabic dish that was originally made in Egypt—at least according to the records—and now it is served all over the world. It is made from chickpeas and may be one of the oldest recipes that exist, writes the portal Kuvar.

Recipe for Homemade Chickpea Hummus

Ingredients

200 g dried chickpeas
juice of ½ lemon
2–3 tablespoons tahini (or homemade from 100 g sesame seeds)
2–3 tablespoons olive oil
2–3 cloves garlic
½ teaspoon ground cumin (optional)
salt – to taste

For homemade tahini:
100 g sesame seeds – lightly toasted in a dry pan

Preparation

Soaking chickpeas: Soak them in plenty of water overnight to swell.

Cooking: In the morning, drain the water, add fresh water, and cook until the beans are completely soft (the skins will come off easily when rubbed between fingers).

Preparing tahini (if making at home): Toast the sesame seeds in a dry ceramic pan until golden yellow, then grind them in a blender.

Blending: Mash the cooked chickpeas well, add lemon juice, salt, tahini, olive oil, garlic, and cumin. Blend everything together until smooth and creamy.

Serving: Drizzle with olive oil and sprinkle with paprika or chopped parsley if desired.

Extra tip: The listed quantities are for a larger amount of hummus; if you’re the only one eating it or just for one day, halve the quantities.

How to Freeze Grapes and Enjoy Them All Year Round

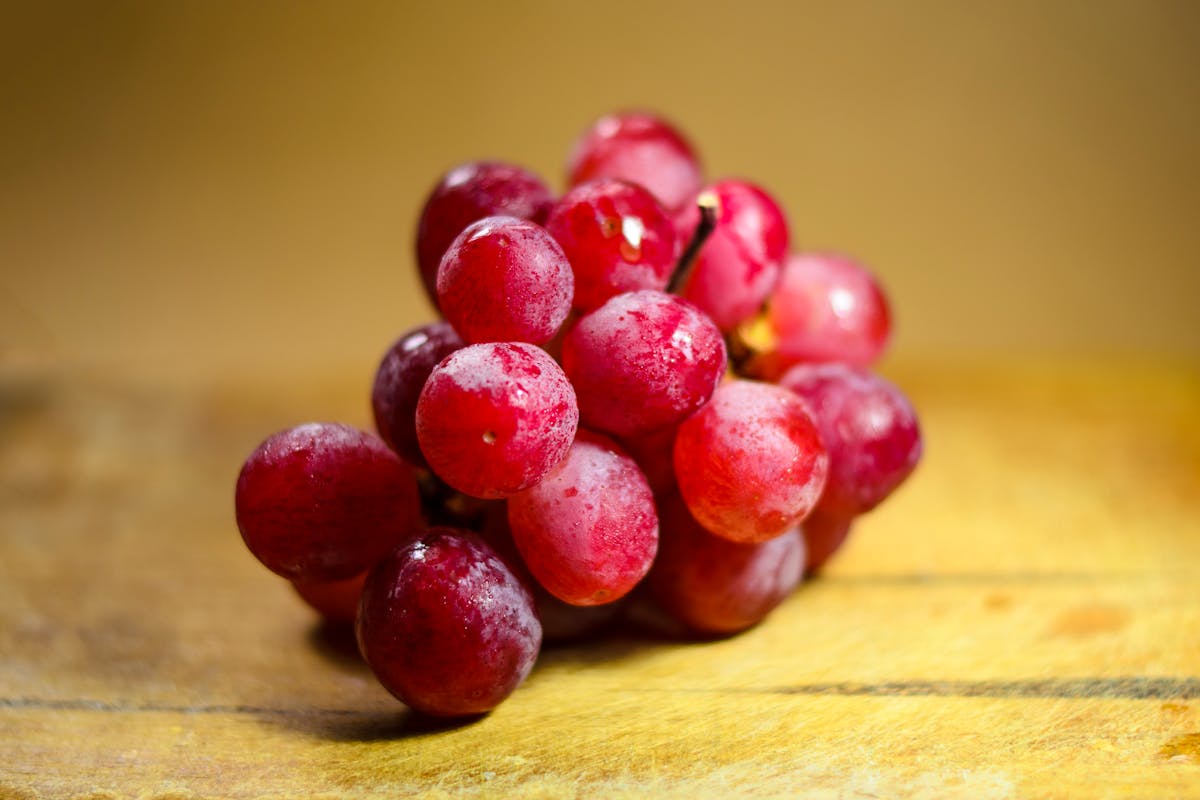
The season of ripe and aromatic grapes is now at its peak. Their berries are the perfect snack when we need a dose of fruit, a bit of refreshment, or something sweet. However, the question arises: how can we preserve that taste and enjoyment even when grapes are no longer available at markets and stores?

By freezing grapes, you can keep them fresh for up to a year, though we doubt you’ll resist eating them sooner. Here are the best tips on how to freeze grapes, how to thaw them, and how to use them, according to Kuvar.

How to Freeze Grapes

If you want to keep grapes for a longer time, freezing is the solution for you. Here’s the best way to do it:

Wash and dry the grapes, then remove the berries from the stems.
Place the clean grapes on a baking sheet lined with parchment paper, cover with plastic wrap, and put in the freezer.
Leave in the freezer for 2–3 hours, or until the grapes are completely frozen.
Transfer the frozen grapes into freezer bags and return them to the freezer.
Frozen this way, grapes can last up to a year.


Once frozen and thawed, grapes will no longer be as crunchy, and their skin won’t pop under your teeth in the same way. But they will still be equally tasty and can be used in cakes, smoothies, jams

The best way to thaw grapes is overnight. Simply place a bag of frozen grapes (or the needed amount if you have more in the bag) in a bowl in the refrigerator overnight. The next day, delicious thawed grapes will be waiting for you.

How to Use Frozen Grapes

When it comes to using frozen grapes, the first option—which is also the easiest, fastest, and simplest—is actually the best one! That is, enjoying frozen grapes as a snack. They are tasty, cold, refreshing, and their juice is gradually released in your mouth.

You can also toss them into olive oil and fry them to use in savory dishes like roasted cauliflower with grapes and feta cheese. They can be added to a rich meat sauce to bring a touch of freshness and sweetness, or you can simply add them frozen into your favorite smoothie…

15 Tips for a More Beautiful and Easier Life in the Kitchen Used by Our Grandmothers

These old-fashioned tips will certainly help you in the kitchen and with meal preparation. Find a wide selection of cookware in our retail stores or order online.

1. If you want to prevent what you’re cooking in a pot, such as vegetables, pasta, or anything else, from boiling over, place a wooden spoon across the pot.

2. You prepared a sauce, but it turned out too thin and you don’t know what to do to make it thicker? Mix 2 tablespoons of milk and a teaspoon of margarine and add it to the sauce.

3. If you want cauliflower to keep its snow-white color after cooking, add a pinch of salt and a little milk to the water while it cooks.

4. No one likes the unpleasant smell of garlic or fish on their hands after cleaning them. Since metal removes odors from the skin, take a stainless-steel spoon, put it under running water, and rub it over your hands as if it were soap.

5. Never throw away the water in which you cooked pasta or potatoes. Let it cool completely and pour it on your plants, feeding them with the nutrients left in the water. Your plants will thank you with their beauty.

6. You prepared a soup or stew, but oversalted it. Don’t worry, there’s a solution. Peel a potato and add it to the soup. It will absorb the excess salt, and the problem is solved.

7. Fresh potatoes sprout during storage. You can prevent this by putting an apple in the box, bag, container, or sack where you keep your potatoes. After a few days, check the apple and replace it with a new one.

8. If you want white meat to stay white and juicy after roasting, stewing, or cooking, rub it with lemon juice before preparation.

9. Don’t throw away old bread. Lightly moisten the crust of stale bread with some water and put it in the oven for 10 minutes at medium temperature. You’ll be won over at the first bite.

10. If you cook spinach and rice at the same time, you’ll get a tastier and more vitamin-rich meal if you first cook the spinach and then cook the rice in that same water.

11. There will never be unpleasant smells in your fridge if you place a small cup of vinegar with mint leaves inside.

12. Kitchen towels will be white as snow if you leave them overnight in water with 2 tablespoons of baking soda. The next day, wash them normally in the washing machine.

13. Meat will be tastier and better if you soak it in milk for an hour before roasting, breading, or frying.

14. You don’t have to buy expensive body scrubs—you can make one yourself in the kitchen. Add a few drops of olive oil, a pinch of cinnamon, a teaspoon of honey, and a teaspoon of cornmeal to the coffee grounds left after drinking coffee. Your skin will be refreshed and like new.

15. You can also make a hand mask in the kitchen. Make mashed potatoes, apply them warm and fresh to your hands for a few minutes. First rinse with warm, then with cold water, and finally rub with lemon juice. You’ll have white and soft hands.

BAKED PANCAKES WITH MEAT AND WHITE SAUCE

BAKED PANCAKES WITH MEAT AND WHITE SAUCE: Recipe for soft pancakes, juicy filling, creamy sauce and golden crust

Creamy, golden and irresistible – pancakes with meat filling and white sauce that will elevate any table to a restaurant level, writes Kuvar.

Recipe for baked pancakes with meat

Ingredients and preparation

Pancakes
2 eggs
250 g flour
500 ml milk
salt
1 tablespoon oil

Mix and fry thin pancakes.

Filling

400 g minced meat
1 onion, a little carrot
Salt, pepper, tomato puree

Sauté onion and carrot, add meat and spices, simmer until the liquid evaporates.

White sauce

2 tablespoons butter
2 cloves garlic, 1/2 onion
2 cups milk
1 bouillon cube
Salt, Parmesan

Sauté onion in butter, add bouillon cube, pour in milk, stir until desired thickness.

Assembling

Fill the pancakes with meat (let it slightly show). Arrange in a baking dish, pour white sauce over. Sprinkle with cheese and bake for 15 minutes at 200°C.

Enjoy!

FOR BRAISING, ROASTING OR GRILLING: Which Part of PORK Is Best Prepared in a Certain Way

FOR BRAISING, ROASTING OR GRILLING: Which Part of PORK Is Best Prepared in a Certain Way

If you are a fan of pork, but always have doubts about which cut of meat to buy when you want to roast, braise, or put it on the grill, in this text you will find your favorite part of pork and learn how you can prepare it.

Regardless of the season when you consume pork, it is important to know which cut of meat is suitable for what, so you don’t end up making a pork dish that is impossible to chew – writes Kuvar.

Pork Tenderloin

Pork tenderloin or boneless loin is even suitable during diets, since in practice this part of pork contains almost no fat. For that reason, it will be quite difficult to prepare schnitzels from it. But it is not impossible. It is important to be very careful not to keep the schnitzels too long on the heat (grill, pan) so they don’t dry out, and to marinate them.

However, if you don’t want to risk losing meat that is also the most expensive part of pork, it is better to prepare it in the oven with sauce, in a pork soup, or in a pork casserole.

Pork Chop

This is meat from the front part of the pig’s back, located right behind the neck, and it is especially tasty. Pork chop is particularly suitable for schnitzels, as well as for preparing the famous Wiener schnitzel.

Pork Neck

Since this meat contains fat, it is especially suitable for grilling, because the fat makes it both juicy and protects the meat from drying out. It is also suitable for soups and various dishes.

Pork Shoulder

Shoulder is a favorite meat for cooking, but it is not very suitable for grilling. You can freely use it for soups and stews, for pork with leeks and rice, and for anything else you can think of. It is also suitable for pickling, marinating, etc. After proper preparation, you can serve it either whole or with an appropriate side dish (mashed potatoes, potatoes, braised vegetables, rice, etc.).

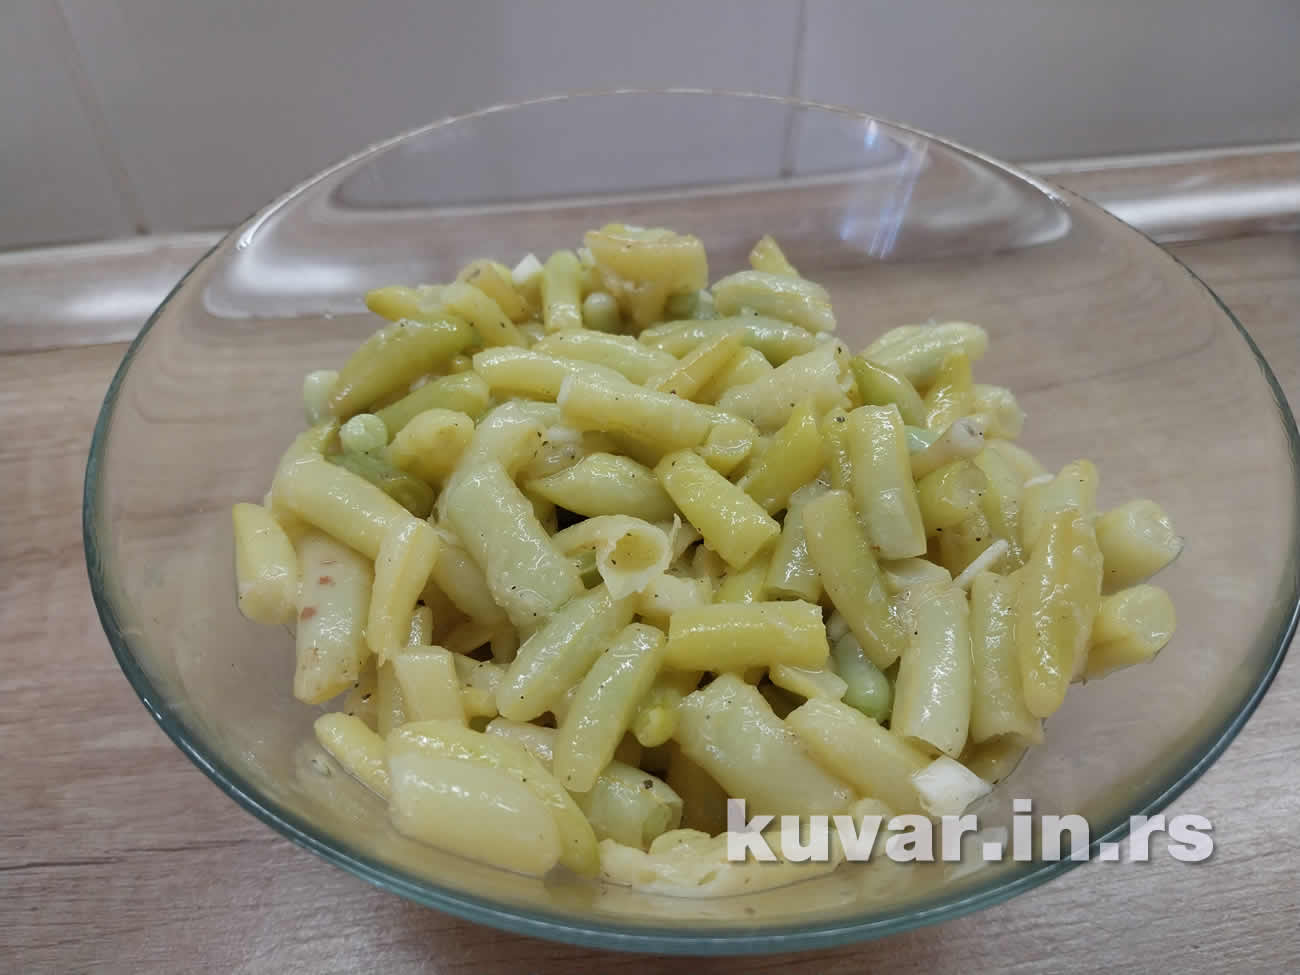
Green Bean Salad with Garlic

Green Bean Salad with Garlic

Green bean salad is a refreshing dish that is easy to prepare and can be served either as a side dish or as a light main meal.

Recipe for Green Bean Salad

Ingredients:

500 g green beans
2–3 cloves garlic
3–4 tbsp olive oil
1–2 tbsp vinegar or lemon juice
Salt and pepper to taste
(Optional) Sour cream or mustard for extra flavor

Preparation:

Preparing the beans: Wash the beans and trim the ends. You can also use store-bought frozen beans. Cook them in salted water for about 10–15 minutes, until tender but not overcooked. Drain and let them cool.

Preparing the dressing: While the beans are cooking, prepare the dressing. In a bowl, mix finely chopped garlic, olive oil, vinegar or lemon juice, salt, and pepper. Mix everything well.

Combining the ingredients: Once the beans have cooled, pour the dressing over them and mix gently so all the flavors combine. If you like, add sour cream or mustard for extra taste.

Chilling: Cover the bowl and leave the salad in the fridge to cool well before serving. This salad can be served as a side dish with meat or as a main dish with bread.

Reporter info

Disclaimer II

Material downloaded from the Internet is considered publicly available unless otherwise noted. In the event that there is a copyright problem or error on a particular material, the copyright infringement was done unintentionally.

Upon presentation of proof of copyright, the disputed material will be immediately removed from the site.

Disclaimer I

All information on this website is published in good faith and for general information purposes only. The website sombor.info does not make any guarantees about the completeness, reliability or accuracy of the published information. Any action you take in relation to the information you find on this website is at your own risk and the site owner will not be liable for any resulting loss and/or damage.