")
")
")
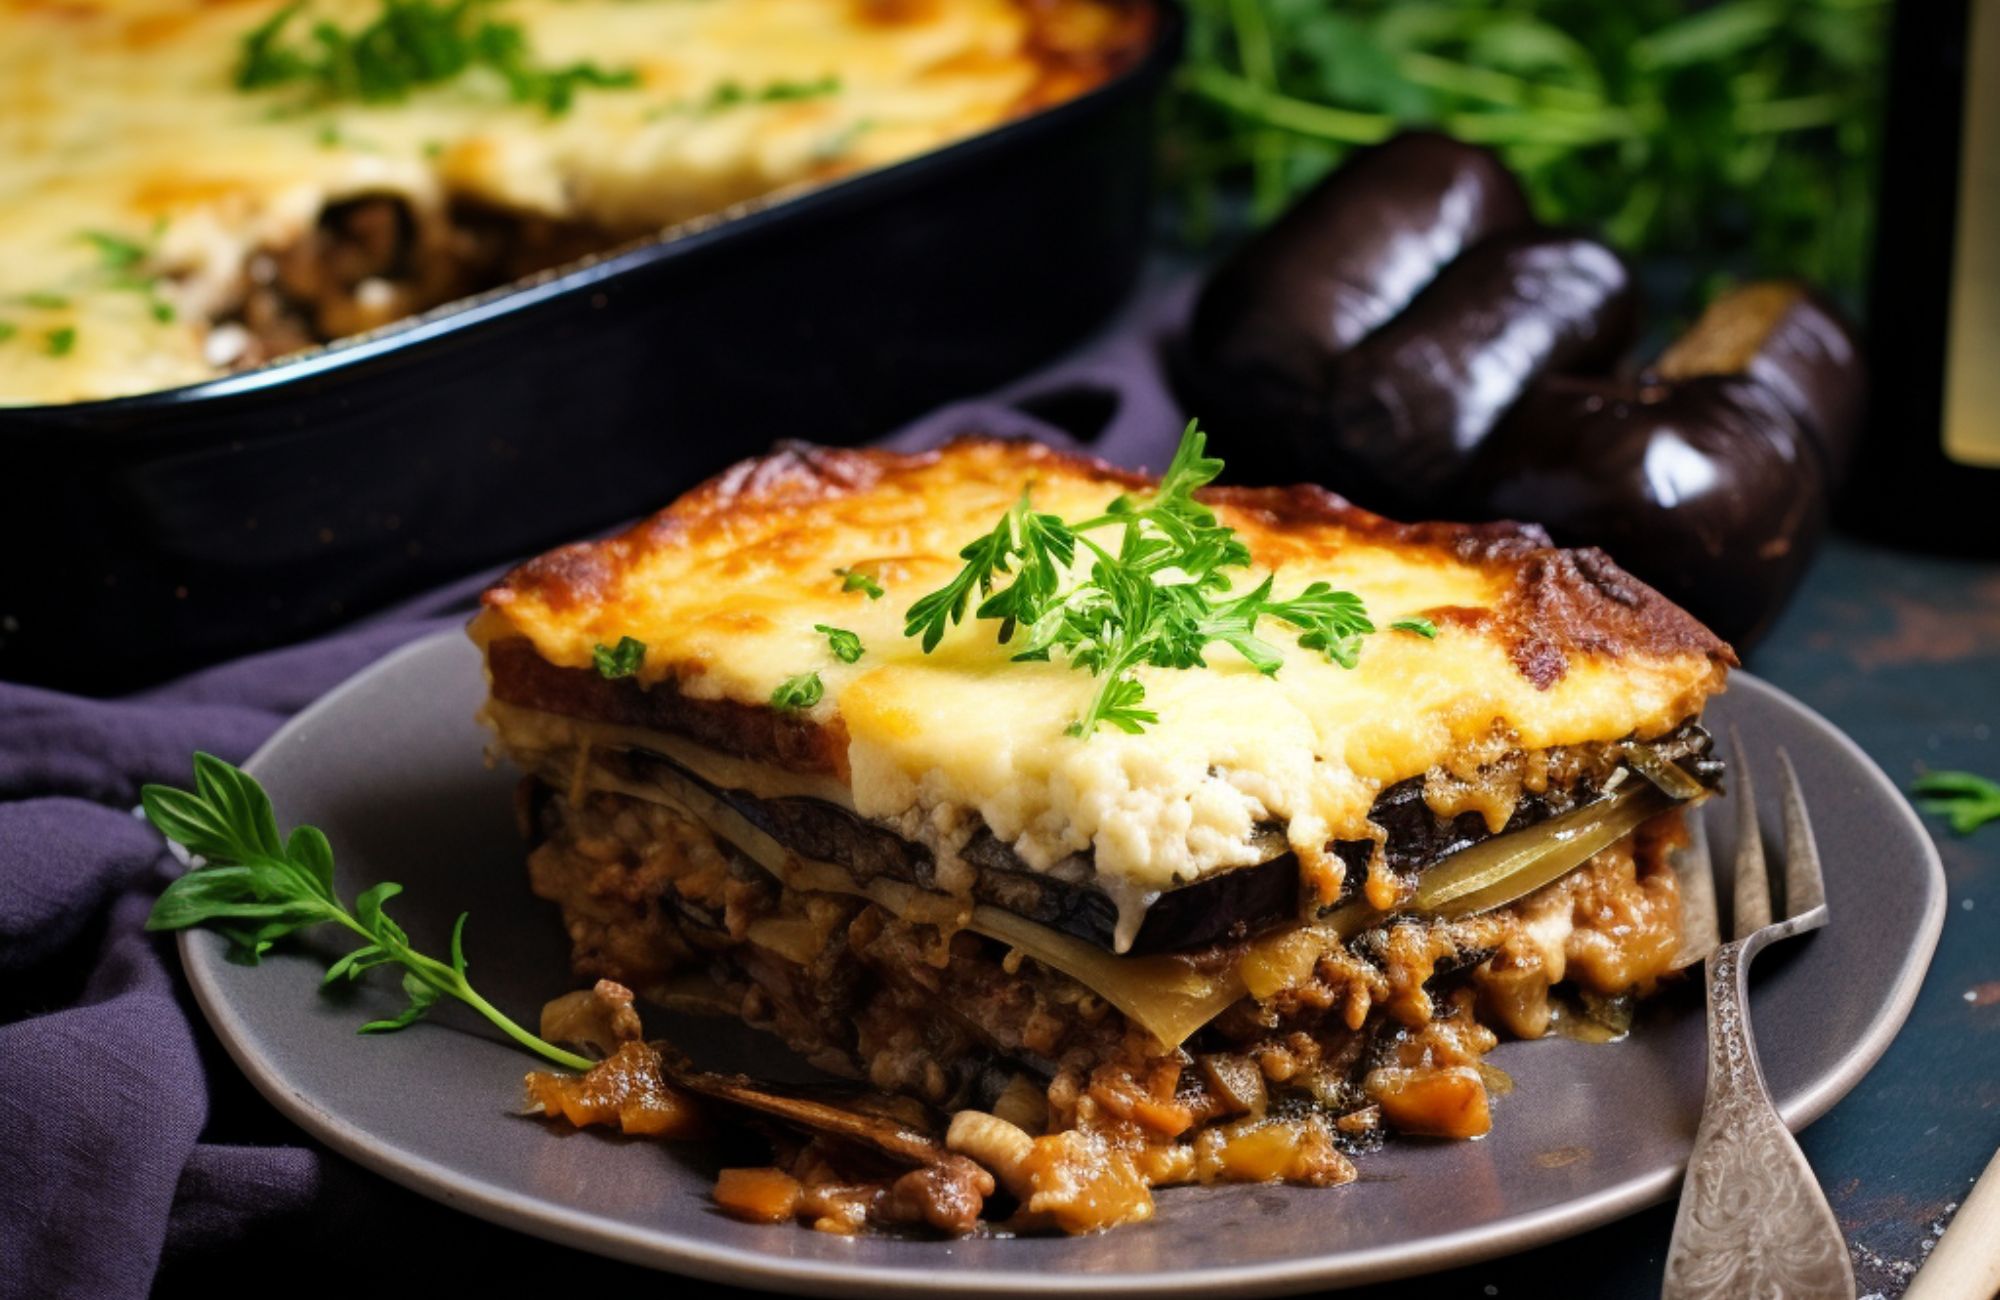
Imagine the perfect combination: layers of juicy potatoes, a rich and fragrant filling of minced meat and tomatoes, all rounded off with a creamy béchamel sauce and baked to perfection. That is Greek moussaka – a dish equally loved by grandmothers and grandchildren, and one that brings sighs of delight to every table.
Whether you prepare it for a Sunday family lunch, a celebration, or when you want to impress guests – this moussaka always wins. Its aroma fills the entire home, and the very first bite promises true gourmet pleasure. The recipe is brought to us by the portal Kuvar.
Ingredients
For the meat layer:
- 500 g minced meat
- 1 onion
- 2 cloves garlic
- 2 tomatoes (or canned peeled tomatoes)
- 2 tablespoons olive oil
- Salt, pepper, oregano, thyme – to taste
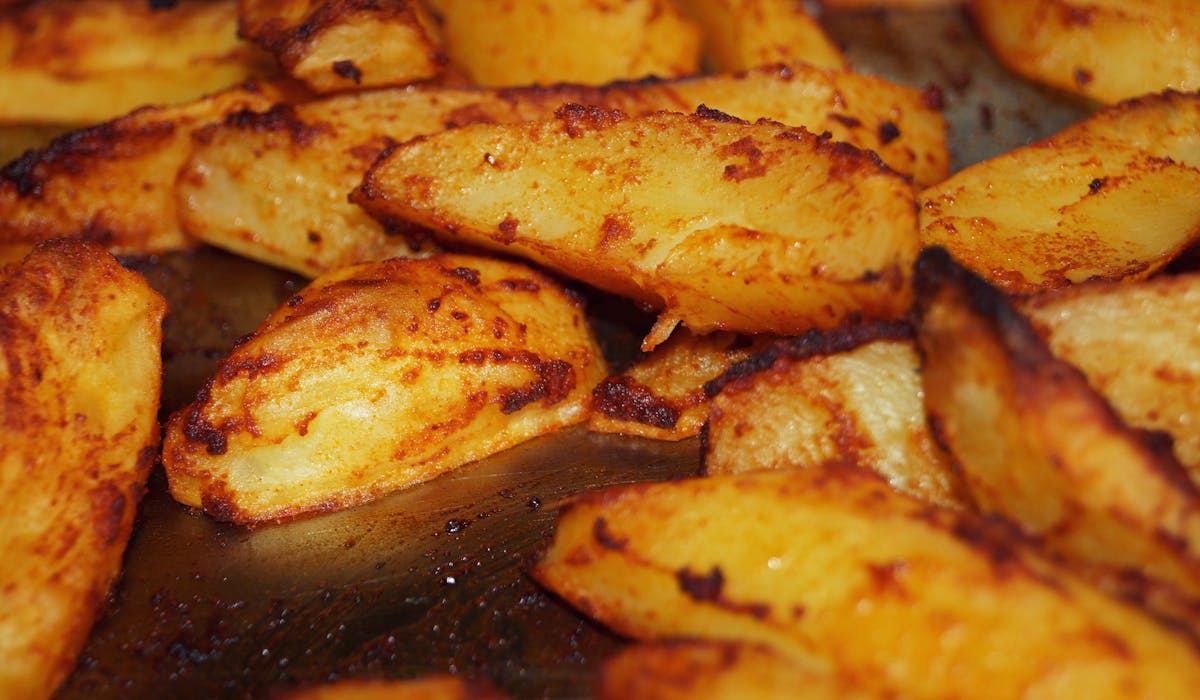
- 4–5 medium potatoes
- Oil for greasing the baking dish
For the béchamel sauce:
- 50 g butter
- 50 g flour
- 500 ml milk
- 1 egg
- 50 g Parmesan cheese
- A pinch of nutmeg
- Salt and pepper – to taste
Preparation
- Potatoes: Parboil them for 5–7 minutes in salted water, then arrange in a baking dish greased with oil.
- Meat layer: Sauté finely chopped onion and garlic in olive oil until translucent. Add the meat, fry until browned, then stir in the tomatoes and spices. Simmer until the liquid evaporates and the filling becomes thick and fragrant.
- Béchamel sauce: In a saucepan, melt the butter, add the flour, and sauté briefly. Slowly pour in the milk while stirring constantly to avoid lumps. Once it thickens, remove from heat and stir in the egg, Parmesan, nutmeg, salt, and pepper (See also the separate recipe for the original béchamel sauce).
- Assembling: Spread the meat filling over the potatoes, smooth it out, then pour the béchamel sauce over everything. Optionally, sprinkle some grated cheese on top.
- Baking: Bake in a preheated oven at 180°C for about 35–40 minutes, until the moussaka develops a tempting golden crust.
- Perfect finish: Let the moussaka rest for 10–15 minutes before cutting – this way the layers will set nicely, and each slice will look like it came from a restaurant.